The difference between a smooth-operating home and a daily headache often comes down to the garage door. Whether you are starting from scratch or replacing an outdated model, understanding each stage of the installation process is crucial for safety, performance, and peace of mind.
What Tools and Materials Do I Need for Garage Door Installation?
Before you dive in, assembling the right tools and materials can mean the difference between a quick afternoon project or a week of frustration.
Essential Tools for the Job
You will want to keep these within arm’s reach:
– Power drill (with assorted bits)
– Adjustable wrenches
– Screwdrivers (flathead and Phillips)
– Tape measure
– Level
– Pliers
– Socket set
– Clamps
– Stepladder
Choosing the Right Garage Door Materials
Steel, wood, aluminum, and fiberglass each bring something different to the table. Steel doors are popular for durability, while wood offers classic aesthetics but needs more maintenance. Aluminum resists rust but can dent more easily. For most homes, the best choice balances curb appeal, insulation, and longevity.
Safety Gear You Shouldn’t Skip
Protect your body and your nerves:
– Heavy-duty gloves
– Safety glasses
– Closed-toe shoes
Springs and panels can shift unexpectedly, so never underestimate the power of basic protection.
How Do I Prepare My Garage for Installation?
A flawless result begins with the right groundwork.
Measuring and Assessing the Opening
Start by measuring the width and height of the garage door opening, along with the side and headroom. Use these numbers to confirm your new door will fit and to order the correct size. Double-checking now can prevent headaches later.
Clearing and Prepping the Workspace
Remove vehicles, bikes, and clutter from the garage to ensure you have clear access all around the door frame. Lay out your tools and materials in a way that keeps the critical pieces in view and within easy reach.
Understanding Local Building Codes and Permits
Some municipalities require permits for garage door installations, especially for new construction or larger upgrades. A phone call to your local building office can save you from costly mistakes or failing an inspection down the road.
What Are the Step-by-Step Instructions for Installing a Garage Door?
Moving methodically through each stage keeps your installation on track and your garage (and family) safe.
Assembling the Door Panels
Begin by laying out the door panels on a flat surface. Connect them according to the manufacturer’s instructions, lining up hinges and reinforcing brackets. It is usually easiest to assemble the bottom panel first and work your way up.
Installing the Tracks and Rollers
Secure the vertical tracks on each side of the opening, ensuring they are plumb and level. Insert the rollers into the door panel hinges, then carefully slide the tracks over the rollers. A level track is key to smooth operation, so take your time.
Mounting the Door Frame and Hardware
Attach the brackets and install the door frame supports as per your kit. Follow with installation of the hinges, reinforcing plates, and handles. Tight connections now prevent rattling and misaligned movement later.
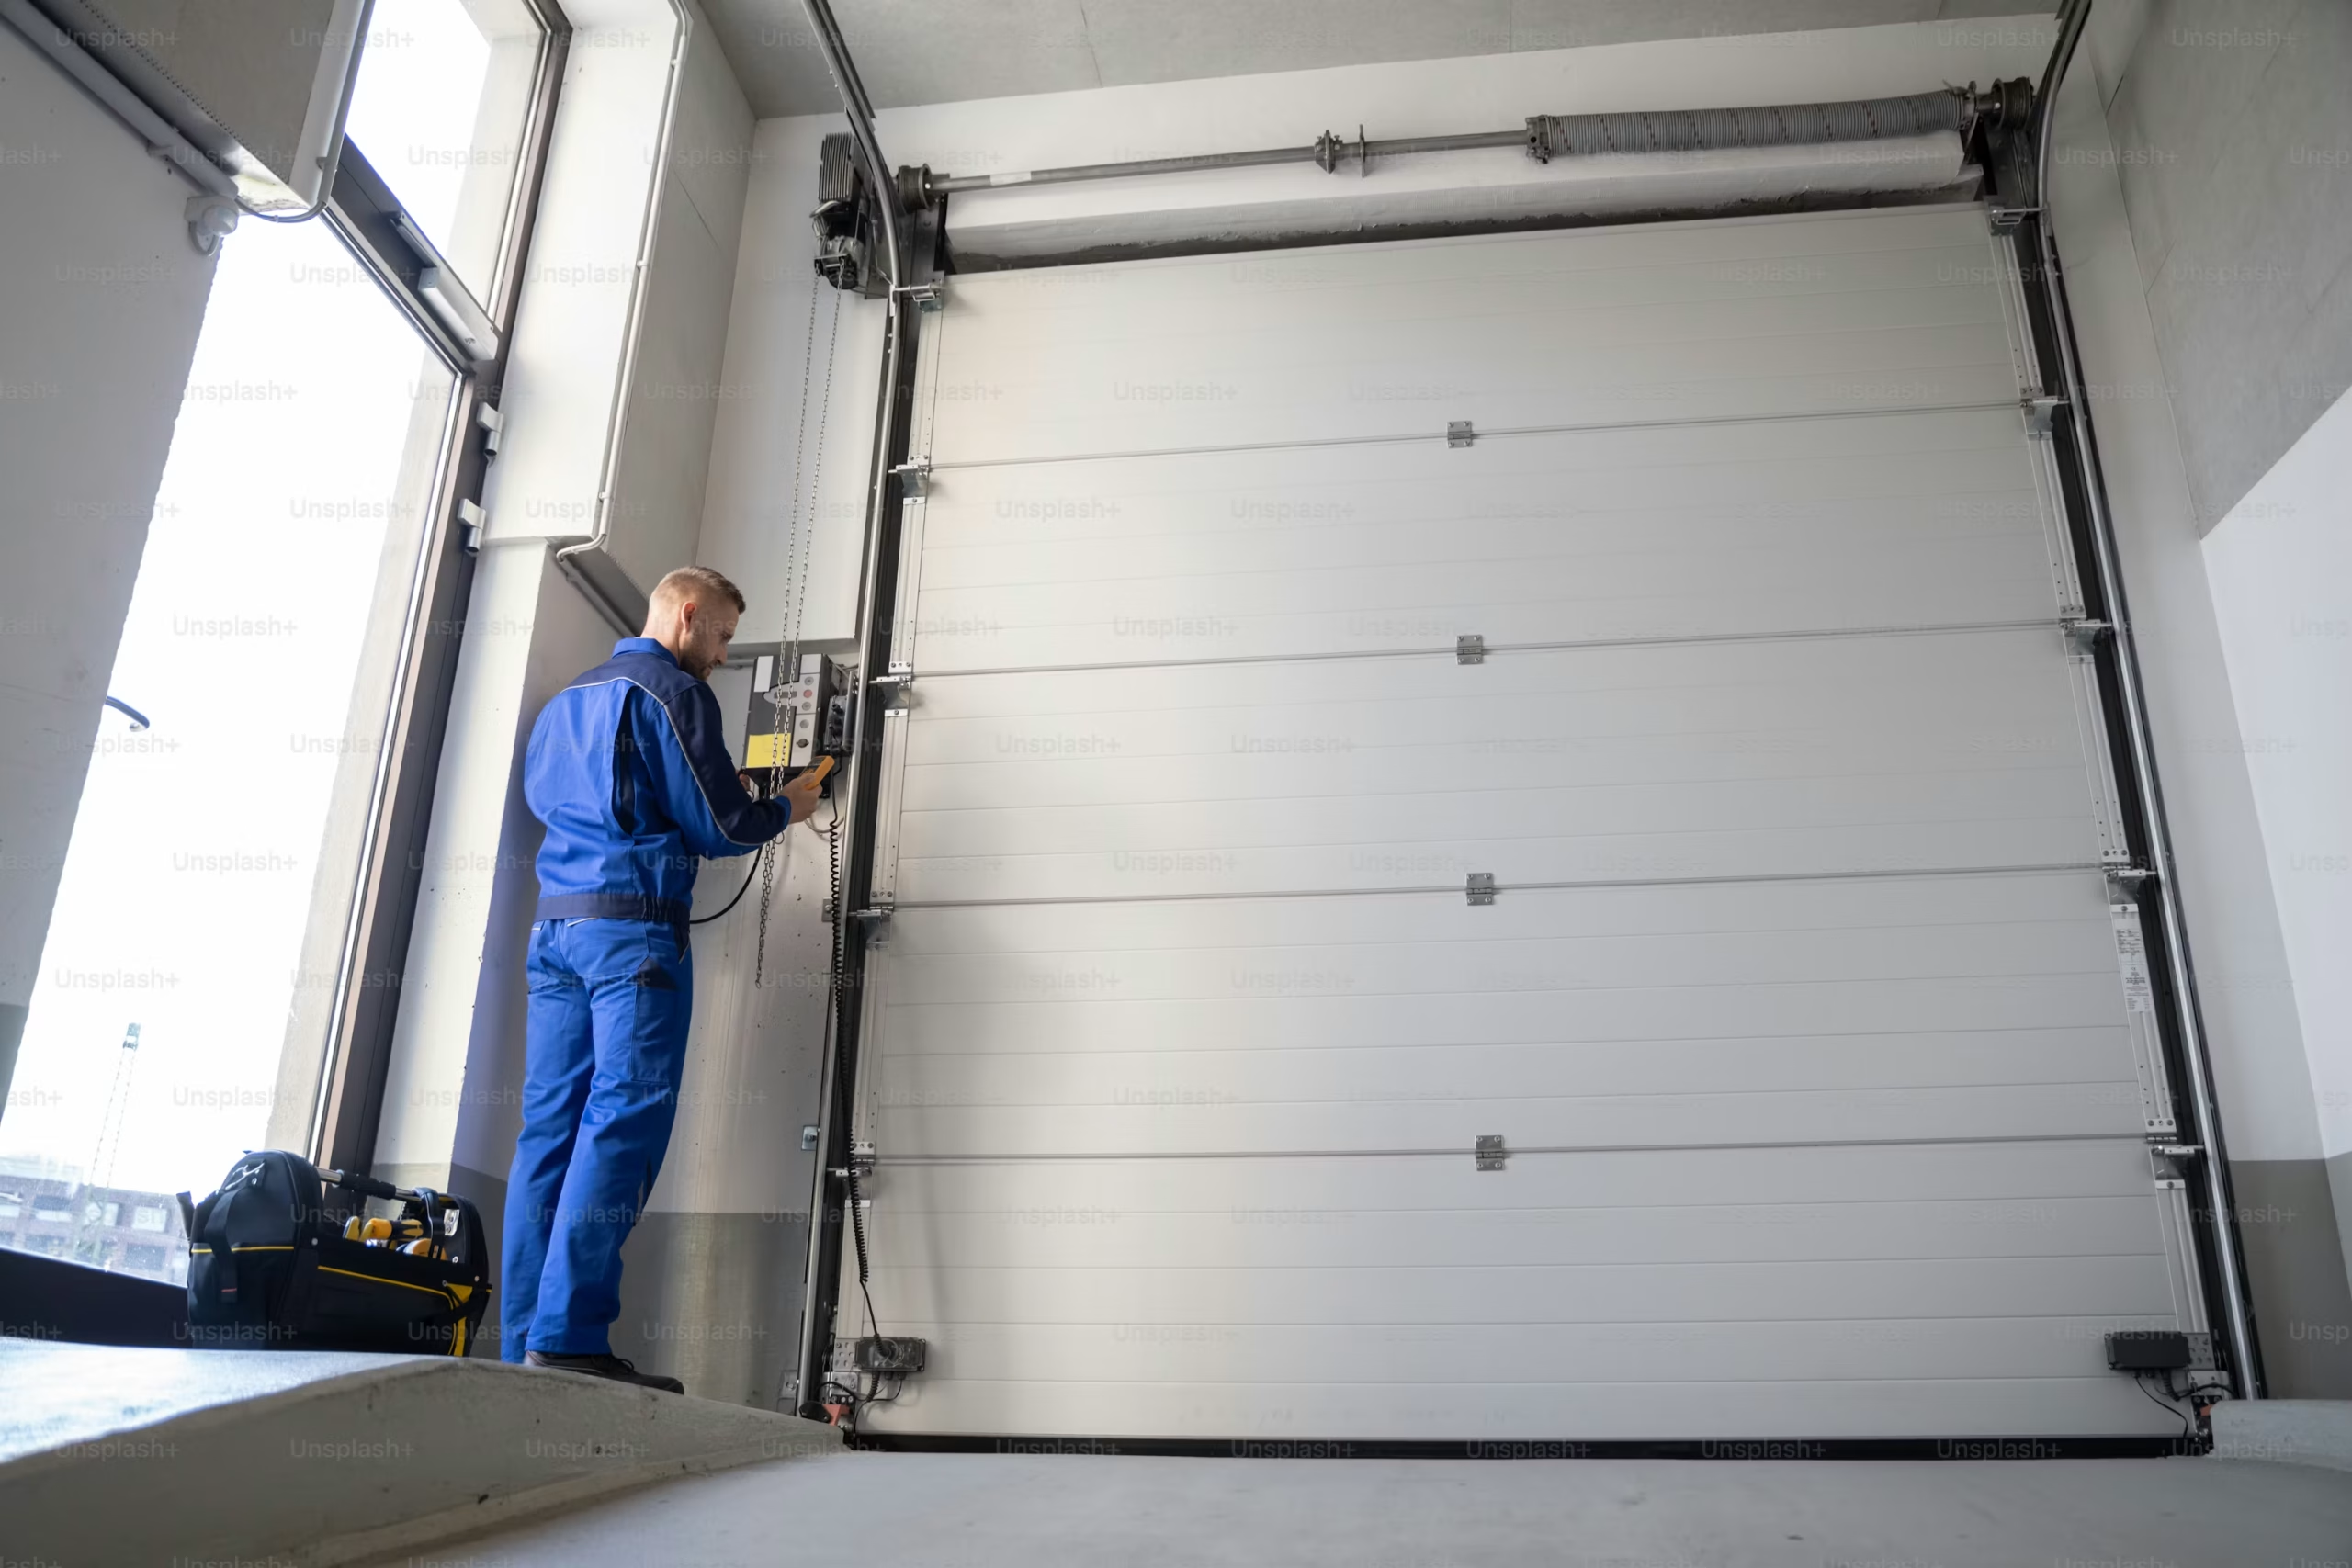
Attaching and Adjusting the Springs and Cables
This is where attention to detail (and safety) matters most. Follow your manufacturer’s instructions for attaching the torsion or extension springs. Carefully connect the lift cables, making sure they run smoothly over the pulleys. Adjust spring tension incrementally to balance the door; never attempt shortcuts around tensioning.
Testing Door Balance and Operation
With everything connected, gently raise the door halfway. A well-balanced door will stay in place without assistance. If it slams shut or shoots upward, adjust the spring tension. Ensure the door moves smoothly from fully closed to open before proceeding.
How Do I Install an Automatic Garage Door Opener?
Adding automation transforms convenience, but precision is key.
Selecting the Right Opener Type
Chain, belt, and screw drive openers each have strengths. Chain drives are affordable but louder. Belt drives run quietly but cost more. Screw drives split the difference. Match your choice to your priorities and the weight of your door.
Wiring and Mounting the Opener
Mount the opener on the ceiling according to the included template, ensuring proper alignment with the door center. Run wiring for the motor and sensors, following safety codes. Secure all connections and fasten the opener arm to the door bracket.
Programming Remote Controls and Safety Features
Set up your remotes, wall control, and safety sensors. Test the auto-reverse function by placing an object in the door’s path and closing it. The door should reverse instantly if the sensor is triggered.
What Common Challenges Might I Encounter During Installation, and How Do I Solve Them?
Even seasoned DIYers run into snags. Common pitfalls include:
Aligning the Door and Tracks Correctly
If the door binds or grinds, loosen the track brackets and realign. Readjust until the door glides smoothly along the tracks.
Troubleshooting Spring Tension Issues
A door that is hard to lift or slams shut means the springs need more tension. Too much tension, and the door may not close fully. Adjust incrementally, always wearing protective gear.
Handling Wiring and Electrical Glitches
If the opener or sensors do not work, check all wire connections and ensure power is supplied. Consult your opener’s troubleshooting guide or reach out to a professional if electrical issues persist. Sometimes, referencing expert resources like Door Doctor garage door installation can shed light on trickier problems.
How Can I Maintain My Garage Door After Installation?
A well-maintained door performs better and lasts longer.
Routine Inspection Tips
Look for frayed cables, loose hardware, and signs of wear every few months. Catching small issues early prevents emergency repairs.
Lubrication and Cleaning Best Practices
Apply garage door lubricant to rollers, hinges, and springs. Clean tracks with a damp cloth to remove dust and debris. Avoid heavy grease, which attracts grit.
When to Call a Professional for Repairs or Maintenance
If the door makes strange noises, moves unevenly, or you notice spring or cable damage, do not risk injury. Professional services can handle high-tension repairs safely and ensure your garage stays secure for years to come.
With careful planning, the right tools, and ongoing maintenance, a new garage door can be a straightforward upgrade that boosts both value and daily convenience.


